Adding images in wordpress a simple guide – Adding images in WordPress: a simple guide sets the stage for understanding how to effectively integrate visuals into your website. From uploading high-quality images to optimizing them for speed and performance, this guide covers everything you need to know to enhance your WordPress site’s visual appeal and user experience. We’ll delve into various aspects, from the basics of image types and alt text to advanced techniques like galleries and responsive design.
This comprehensive guide will walk you through the process of adding images to your WordPress site, ensuring your content is engaging and visually appealing. We’ll cover everything from uploading and organizing images in the media library to inserting them into your posts and pages, optimizing them for performance, and handling potential issues. We’ll also explore advanced techniques like galleries, image editing tools, and responsive design, making your images look great on all devices.
Introduction to Adding Images in WordPress
Adding images to your WordPress website is crucial for creating engaging and visually appealing content. High-quality images break up text, enhance understanding, and significantly improve user experience. They are essential for conveying information effectively and establishing a professional online presence.Images are the cornerstone of visual storytelling. They help to illustrate concepts, showcase products or services, and draw readers into your content.
Without images, your WordPress site can feel bland and uninspired. This guide will walk you through the process of adding and optimizing images, ensuring they are not only visually appealing but also contribute to your website’s .
Types of Images Used in WordPress
Different image formats offer varying levels of compression and quality. Understanding the nuances of each format is key to choosing the best option for your needs. JPEG (Joint Photographic Experts Group) is a common format for photographs and complex images, known for its ability to compress images while maintaining a relatively high level of quality. PNG (Portable Network Graphics) is well-suited for images with solid colors, logos, or graphics with sharp lines.
GIF (Graphics Interchange Format) is primarily used for animations and simple images with limited colors. Each format has strengths and weaknesses, and the optimal choice depends on the image’s purpose and the desired level of detail.
Benefits of Optimized Images
Optimized images are vital for website performance. Large, unoptimized images can significantly slow down your website’s loading speed. This impacts user experience and search engine rankings. Optimized images are smaller in file size, which translates to faster loading times, making your website more user-friendly. This is a critical factor for both visitor satisfaction and search engine optimization.
Importance of Alt Text for Images
Alt text, or alternative text, is a crucial element for accessibility and . Alt text provides a textual description of an image, which is displayed if the image cannot be loaded. This is essential for users with visual impairments who rely on screen readers. Alt text also improves search engine optimization () by providing context for the image. Search engines use alt text to understand the content of an image, thus improving your website’s ranking in search results.
Descriptive alt text helps search engines understand the image’s relevance to the surrounding content.
Overview of the WordPress Media Library
The WordPress media library is a central repository for all your website’s images, videos, and other media files. It allows you to organize, manage, and easily access your media assets. You can upload images directly, categorize them, and assign them to specific posts or pages. This centralized library simplifies the process of adding media to your website, improving both organization and accessibility.
The library provides a user-friendly interface for browsing, editing, and managing your media files.
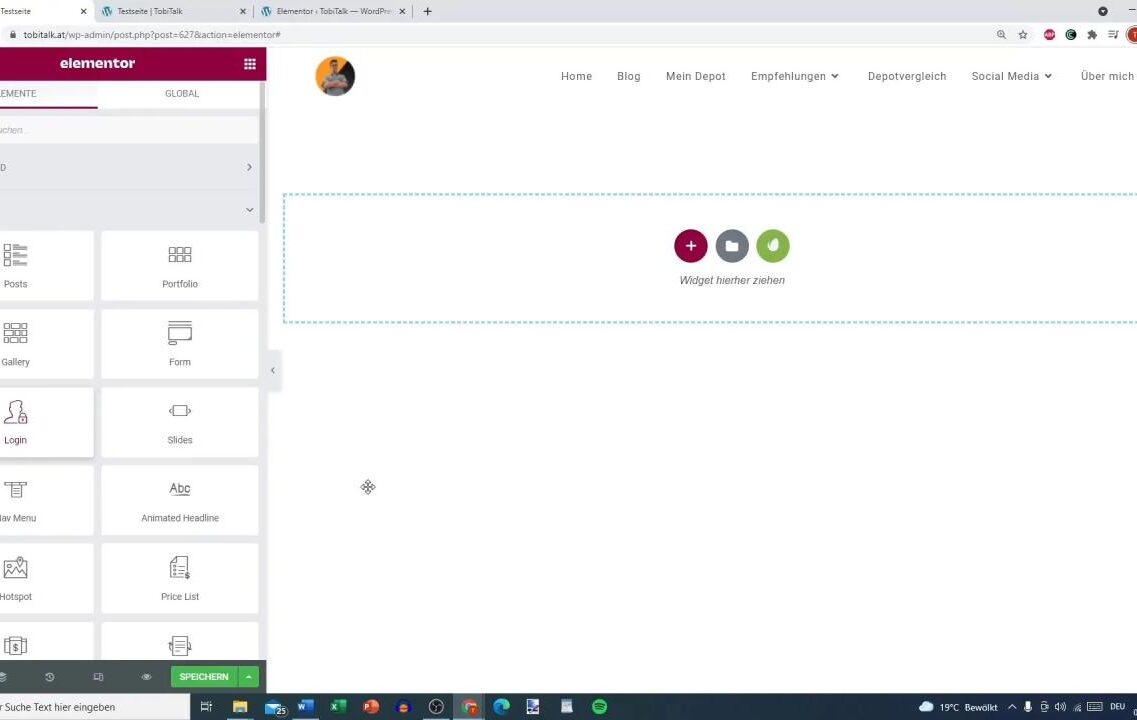
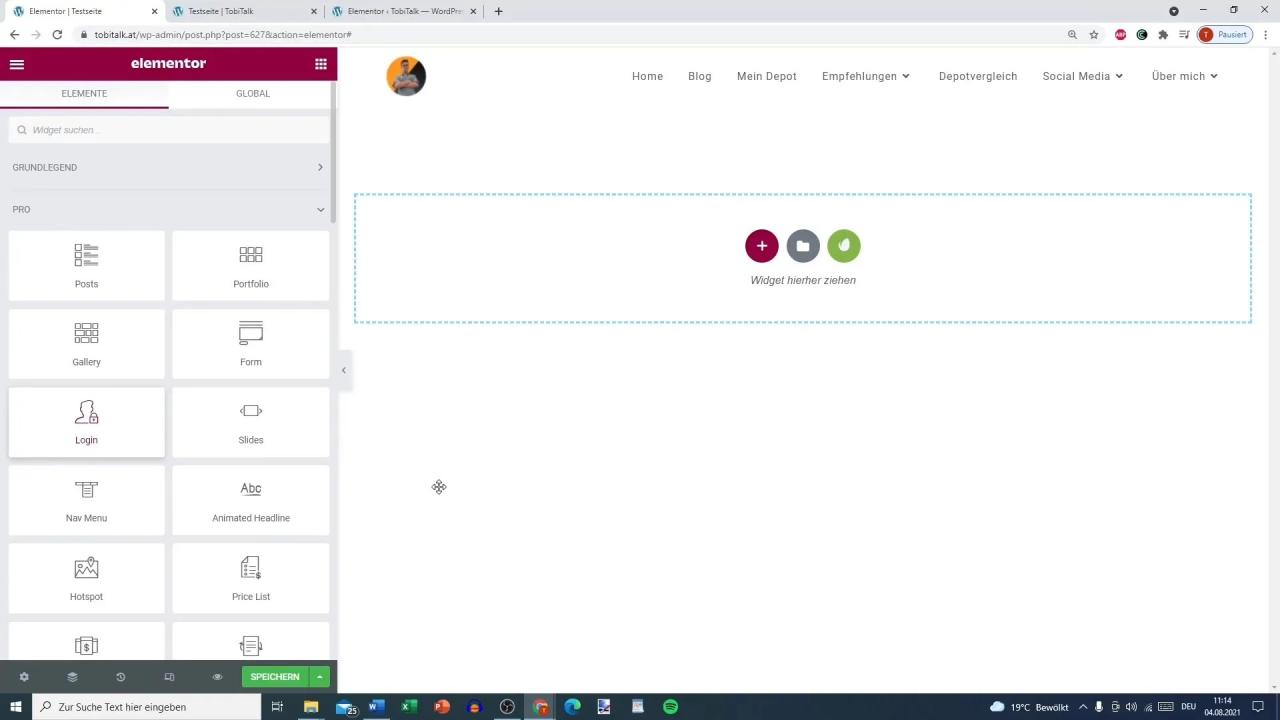
Uploading Images to the Media Library: Adding Images In WordPress A Simple Guide
Adding images to your WordPress website involves more than just dragging and dropping. Understanding the process of uploading, organizing, and manipulating images is key to a visually appealing and well-structured site. This section details the steps for efficiently managing images within the WordPress media library.WordPress’s media library acts as a central repository for all your website’s images. It provides a structured way to store, manage, and retrieve images, making it easy to use them across different parts of your site.
Adding images in WordPress is surprisingly straightforward, even for beginners. Knowing how to effectively showcase products is crucial, especially when building a website for affiliate marketing, like create a high converting affiliate marketing website. A simple guide on optimizing image sizes and alt text can dramatically improve your website’s performance and user experience. Mastering these basics will help you create a visually appealing site that truly stands out.
Efficient image management ensures your website performs well and looks its best.
Uploading Images Directly from Your Computer
The most common method for adding images to your WordPress site is through direct upload from your computer. This method is straightforward and allows you to quickly integrate images into your website’s media library.
- Locate the “Add Media” button. This button is typically found in the WordPress editor or within the media library itself.
- Click the “Select Files” button to browse your computer’s files.
- Choose the image file(s) you want to upload. Select multiple images if needed.
- Click the “Open” button to initiate the upload process.
- WordPress will then display a progress bar indicating the upload status.
- Once the upload is complete, the images will be added to the media library.
Uploading Images from External Sources
You can also import images from external sources like your Google Drive, Dropbox, or other file storage platforms. This is useful if you already have images stored elsewhere.
- Locate the “Add Media” button.
- Click the “From URL” or similar option.
- Paste the URL of the image file into the provided field.
- Click the “Insert into post” button to add the image to your WordPress post or page.
Renaming, Resizing, and Cropping Images
After uploading, you can modify images to fit specific needs. These actions enhance the visual appeal and ensure optimal website performance.
- Renaming: Once an image is in the media library, you can right-click on it and choose “Rename.” This allows you to give the image a more descriptive name. This practice improves organization and facilitates searching for the image later.
- Resizing: WordPress allows resizing images without compromising quality. This is crucial for optimizing image display on different devices and screen sizes. Resizing reduces file sizes, leading to faster loading times and better user experience.
- Cropping: Cropping allows you to extract a specific portion of an image. This is helpful for removing unwanted elements or focusing on a particular subject within the image.
Organizing Images in the Media Library
A well-organized media library is essential for easy image retrieval. Effective organization significantly speeds up your workflow.
- Categories: Create categories to group images based on theme, project, or other relevant criteria. This helps you locate images more quickly.
- Tags: Use tags to add s or descriptions to your images. This allows you to search for images by specific features or subjects.
- File Naming Conventions: Use a consistent file naming convention for all images. This helps you quickly identify and manage images.
Different File Upload Options and Their Limitations
WordPress offers various ways to upload files, each with its own set of limitations. Understanding these limitations helps you choose the most appropriate method for your needs.
| Upload Method | Description | Limitations |
|---|---|---|
| Direct Upload | Uploading images directly from your computer. | Limited by the size and type of files allowed. |
| From URL | Importing images from external sources. | Image quality and size may vary, depending on the original source. |
Inserting Images into Posts and Pages
Adding images to your WordPress posts and pages is crucial for visual appeal and engagement. A well-placed image can significantly enhance the readability and understanding of your content. This section will guide you through the process of inserting images using the WordPress editor, including alignment options, captions, descriptions, and even watermarking.
Inserting Images Using the WordPress Editor
The WordPress editor provides a straightforward method for inserting images. After uploading your image to the media library (as described in the previous section), locate the image in the media library and click the ‘Insert from media library’ button. This action will embed the image into the current post or page. The image will appear in the editor where you placed the cursor.
Image Alignment Options
Proper image alignment is essential for a visually appealing layout. Different alignment options help create a balanced and engaging layout.
| Alignment | Description | Visual Effect |
|---|---|---|
| Left | The image is placed to the left of the text. | Creates a visually interesting layout, often used for side-by-side text and images. |
| Right | The image is placed to the right of the text. | Similar to left alignment, but places the image on the right side of the text. |
| Center | The image is centered within the text block. | Centers the image for a more balanced and visually consistent look. |
| None | The image is displayed as it is, without any alignment. | Useful for images that are part of the text flow, without any specific positioning needs. |
Captions and Descriptions for Images
Adding captions and descriptions to images enhances their context and provides additional information. Captions are short descriptions that appear below the image, while descriptions are longer and can be used for purposes.
Adding images to your WordPress site is surprisingly straightforward. A simple guide can walk you through the process, ensuring your images are optimized for both speed and visual appeal. However, when you start thinking about monetizing your content, the intersection of paywalls and SEO becomes a complex topic, as explored in this helpful article on paywalls and SEO can they work together.
Knowing how to effectively use images is key to a successful WordPress blog, regardless of monetization strategies.
- Captions provide a brief explanation or context for the image, making the content easier to understand.
- Descriptions offer more detailed information about the image, including details relevant to the topic of the post.
Adding Image Watermarks
Adding a watermark to your images protects your work from unauthorized use. This is particularly important for images that have significant value. Watermark options are available via plugins in WordPress.
- Using a watermark plugin allows you to add a logo or text to the image. This prevents unauthorized use and maintains your ownership.
Optimizing Images for Performance

Adding images to your WordPress site is great, but if they’re too large or not optimized, they can significantly slow down your site. This is a critical part of creating a positive user experience and ranking higher in search results. Users are less likely to stick around if a page takes too long to load. So, let’s explore how to make your images work for you, not against you.Optimizing images isn’t just about making them smaller; it’s about finding the right balance between file size and visual quality.
This involves understanding image formats, compression techniques, and responsive design principles. By following these steps, you can ensure your images load quickly and look great on any device.
Image Size Optimization
Image size is a major factor in website speed. Large images take longer to download, leading to slower page load times. Optimizing image dimensions for your intended use is crucial.
- Choose the right dimensions: Use the smallest possible dimensions that still maintain the quality and clarity of the image for your needs. Avoid unnecessarily large images, especially if you’re only using a small portion of them in your content. Consider if a thumbnail or a medium-sized image would suffice.
- Use appropriate units: Specify image dimensions in pixels (px) or percentages (%) for consistency and to ensure the image adapts correctly to different screen sizes.
- Resize images before uploading: Use image editing software or online tools to resize your images to the correct dimensions before uploading them to your WordPress media library. This will save time and resources.
- Prioritize quality over size: Avoid excessively compressing images to the point of losing important details or clarity. Find the optimal balance between file size and image quality.
Image Compression Techniques
Compressing images without sacrificing quality is a balancing act. Different compression methods offer varying degrees of quality loss. It’s about finding the sweet spot.
- Lossy compression: Methods like JPEG involve discarding some image data to reduce file size. This can result in slight quality loss, but it’s often acceptable for images with complex details. Use this method for photographs and images with a wide range of colors.
- Lossless compression: Methods like PNG preserve all image data, resulting in no quality loss. This is ideal for images with sharp lines, text, or graphics where quality is paramount. Use this for images containing text or sharp edges where quality is a priority.
- Image editing software: Most image editing programs offer compression options. Experiment with different settings to find the best balance between file size and quality.
- Online compression tools: Numerous online tools allow you to compress images without installing any software. Choose tools that provide a good balance of compression and quality.
Responsive Image Formats
Responsive images adapt to different screen sizes and devices, enhancing the user experience and improving website performance.
- Using the srcset attribute: The srcset attribute allows you to specify multiple image sources for different screen sizes. WordPress will automatically select the appropriate image based on the user’s device. This helps in loading the image quickly for different screen sizes.
- Using the sizes attribute: The sizes attribute defines how the image should be displayed based on the user’s viewport. This allows for better image scaling and presentation.
Image Formats and Website Speed
Choosing the right image format is crucial for website performance. Different formats handle various types of imagery with varying levels of compression.
- JPEG (Joint Photographic Experts Group): Ideal for photographs and images with smooth gradients. Offers good compression, but some quality loss is possible.
- PNG (Portable Network Graphics): Excellent for images with sharp lines, text, or graphics. Preserves quality without loss, but file sizes can be larger than JPEGs.
- WebP: A modern format that offers superior compression compared to JPEG and PNG, resulting in smaller file sizes and faster loading times. Supports both lossy and lossless compression.
Caching Plugins for Image Loading
Caching plugins store frequently accessed data, including images, on a server, so they load faster on subsequent requests. This significantly improves page load times and optimizes user experience.
- Benefits of caching plugins: Caching plugins store copies of your images on the server, which means they don’t have to be retrieved from the original source every time a user requests a page. This significantly reduces the time it takes to load images, making your website faster.
- Choosing a caching plugin: Consider the features and performance of different caching plugins. Some plugins are more complex than others, so choose one that aligns with your technical skills.
Advanced Image Techniques
Taking your WordPress image game to the next level involves mastering advanced techniques beyond basic uploads and insertions. This section delves into sophisticated methods for enhancing image presentation, optimizing performance, and integrating diverse visual elements into your website. From image editing tools to creating custom sizes, this guide provides practical strategies for maximizing the impact of your visuals.Image manipulation and presentation go beyond simply uploading and inserting; advanced techniques allow for greater control and visual appeal.
Adding images to your WordPress site is surprisingly straightforward, even for beginners. Just remember the right file size and format for optimal loading speeds. This simple process, though, can be compared to the complexities of algorithmic bias, where the algorithms themselves reflect the biases present in the data used to train them, like in the case of algorithmic bias whos training the machines.
Ultimately, mastering image uploads in WordPress is a crucial skill for any blogger or website owner, no matter the technical depth of the broader web.
Understanding these techniques empowers you to craft a visually engaging and optimized website.
Image Editing Tools Integration
Various image editing tools seamlessly integrate with WordPress, simplifying the process of image enhancement and modification. These tools offer a range of features, from basic adjustments to complex manipulations. Choosing the right tool depends on your specific needs and technical proficiency.
- Adobe Photoshop, a professional-grade image editor, provides extensive control over image manipulation. While powerful, it requires a learning curve and a subscription fee. Its advanced features are beneficial for complex image editing and high-resolution designs. Professional photographers and designers often rely on Photoshop for its precision and extensive tools.
- GIMP, a free and open-source alternative to Photoshop, offers a comparable range of features for image editing. Its intuitive interface and extensive capabilities make it suitable for a wider range of users. GIMP allows for complex editing tasks, including retouching, color adjustments, and image manipulation, without the cost of a subscription.
- Canva, a user-friendly design platform, is excellent for quick image edits and basic design needs. Its drag-and-drop interface makes it accessible to users of all levels. Canva is particularly useful for creating social media graphics and basic website images. Its templates and pre-designed elements streamline the design process.
Image Galleries and Slideshows
Image galleries and slideshows are effective ways to display multiple images in an organized and engaging manner. They are crucial for showcasing collections of images, such as product catalogs or photo series.
- WordPress plugins provide a wide range of options for creating galleries and slideshows. These plugins allow you to easily manage and display images in visually appealing formats. These plugins often offer customization options for layouts, transitions, and other design elements.
- Many themes offer built-in gallery and slideshow features. These pre-designed layouts enhance the overall visual presentation of your website. Built-in features streamline the display of image collections.
Image Hotspots
Image hotspots, or clickable areas within an image, allow for interactive elements within a visual. This is useful for directing users to specific details within an image or linking to related content.
- Plugins and image editing software can help create hotspots. This method involves defining clickable regions within an image that link to different pages or content.
- Using hotspots, users can click on specific areas of an image to access further information. This can be applied to detailed maps, product images with interactive features, or any image requiring targeted interaction.
Custom Image Sizes, Adding images in wordpress a simple guide
Custom image sizes allow for precise control over the dimensions of images used on your website. This is critical for optimizing image display and ensuring they fit appropriately within the website layout.
- WordPress allows you to define custom image sizes using the media settings. This control enables tailoring image dimensions to specific sections or pages. Custom sizes ensure images match the intended layout and resolution.
- Different image sizes can be used for various purposes, such as featured images, thumbnails, or responsive image displays. This flexibility optimizes image display for diverse devices and screen sizes. Properly sized images improve user experience and reduce loading times.
Embedding External Images
Embedding external images allows you to include images from other websites or sources within your WordPress posts or pages. This is useful for sharing content from various platforms.
- Embedding images involves using appropriate HTML code or plugins to incorporate the image URL into your website. This method allows you to use images without needing to upload them to your media library.
- Be mindful of copyright restrictions when embedding images from other websites. Ensuring you have permission to use the image is crucial. Respecting copyright protects you from legal issues and maintains ethical online practices.
Troubleshooting Common Issues
Adding images to WordPress can sometimes present challenges. Understanding common problems and their solutions can save you valuable time and frustration. This section details troubleshooting steps for various image-related issues, ensuring your images display correctly and enhance your website’s content.Troubleshooting image problems often involves understanding the workflow. Careful attention to file types, upload sizes, and insertion methods can significantly reduce issues.

Knowing how to optimize images for different devices and ensure compatibility across various browsers is also key to a smooth user experience.
Image Upload Issues
Image upload failures can stem from various factors. Incorrect file formats, exceeding upload size limits, or corrupted files can all lead to problems. Verifying file compatibility with WordPress’s supported formats, checking file sizes, and ensuring the file is not damaged are crucial steps. Always check your hosting provider’s specific upload size limitations.
Image Insertion Issues
Problems inserting images into posts or pages can arise from several causes. Ensuring the image is in the Media Library, using the correct insertion method, and double-checking the image file path are important troubleshooting steps. If you’re using a plugin, ensure it’s compatible with the image format and the plugin’s requirements. Sometimes a simple refresh of the page or clearing your browser cache can solve the problem.
Image Alignment Issues
Incorrect image alignment can disrupt the visual layout of your posts or pages. Ensuring the alignment option is set correctly in the WordPress editor is vital. Using the visual editor or the HTML editor’s alignment attributes can address alignment issues. Incorrect alignment can be due to conflicting CSS styles or incorrectly nested HTML elements.
Image Format Limitations
Different image formats have specific limitations that can cause issues. For example, GIFs are often better suited for animations, while JPEGs excel at photographs. Choosing the appropriate format for your image is important for optimal quality and compatibility. PNGs are good for images with transparency. Understanding the limitations of each format can prevent issues down the line.
Consider the level of detail required for the image and the file size to balance quality and load time.
Image Display Issues on Different Devices
Image display problems on different devices can stem from various factors. Images might not display correctly on mobile devices due to incorrect responsive design. Using responsive image formats or optimizing images for different screen sizes can resolve these issues. Always test your website on various devices and browsers to ensure compatibility. Ensure images are optimized for different screen sizes and resolutions.
Preventing Image Errors
Preventive measures can minimize image-related errors. Validating image files before upload, ensuring proper file naming conventions, and using reliable image editing software can prevent issues. Creating backups of your images and using a good image hosting service can protect against unexpected data loss. Following best practices for image optimization can improve the performance and visual appeal of your website.
Image file naming should be descriptive and not include special characters or spaces. Consider using a reliable image compression tool to reduce file size without sacrificing quality.
Image Security Considerations
Protecting your WordPress site’s images from malicious actors is crucial for maintaining site security and user trust. Malicious images can be used to spread malware, exploit vulnerabilities, or even deface your site. This section Artikels key security considerations for image handling in WordPress, emphasizing preventative measures and best practices.Image security isn’t just about preventing malicious uploads; it’s about establishing a robust system that safeguards your site’s integrity.
This includes securing the storage of images, restricting access to sensitive files, and proactively identifying and mitigating potential threats.
Preventing Malicious Image Uploads
A critical aspect of image security is preventing malicious image uploads. This involves implementing checks and filters to identify potentially harmful file types and contents. Sophisticated attacks can bypass simple extensions, so a multi-layered approach is recommended.
- File Type Validation: WordPress allows uploading various image formats (JPEG, PNG, GIF, etc.). Implement server-side validation to ensure uploaded files are legitimate images. Reject files that are not of the expected type, or that have suspicious file extensions, or are unusually large, as these could indicate an attempt to mask malicious code.
- Content Analysis: Beyond file type validation, analyze the image’s content. Look for patterns in the file’s metadata or pixel data that might indicate malicious intent. Use a tool or library to analyze image data for anomalies.
- Input Sanitization: Users may input data (file names, descriptions) associated with the image. Sanitize all user-supplied data to prevent script injection or other vulnerabilities. This will prevent attackers from crafting malicious file names or descriptions.
Importance of Secure Image Storage Solutions
Storing images securely is paramount. Using a secure storage solution, such as an encrypted storage system, limits unauthorized access and protects against data breaches. Choosing a reliable storage solution that aligns with your site’s security needs is vital.
- Encrypted Storage: Encrypting images at rest and in transit using robust encryption algorithms is essential. This prevents unauthorized access to the image data even if the storage system is compromised. A common method is using HTTPS for communication and encryption for storage.
- Access Control: Implement strong access control mechanisms to restrict who can access the image files. Limit access based on user roles and permissions, allowing only authorized personnel to modify or delete images.
- Regular Backups: Regular backups of your image files are crucial for disaster recovery. Use reliable backup solutions that provide redundancy and security measures to protect your data from accidental deletion or malicious attacks.
Potential Security Risks and Mitigation
Several security risks are associated with image handling in WordPress. Understanding these risks and implementing mitigation strategies is key to maintaining a secure website.
- Malware Injection: Malicious actors can inject malicious code into images, which can compromise the site or user data. This risk is minimized by the file validation and content analysis techniques discussed above.
- Data Breaches: Compromised storage systems or servers can expose image data. Protecting your image storage using encryption and secure servers is critical in preventing breaches.
- Unauthorized Access: Restricting access to images is essential. Implement strong passwords and access controls to prevent unauthorized access to sensitive image data.
Protecting Images from Unauthorized Access
Restricting access to images is crucial. This involves implementing user roles and permissions to limit who can view, edit, or delete images. Appropriate access control is essential for maintaining security.
- User Roles and Permissions: WordPress allows assigning different user roles with varying levels of access. Limit access to images based on user roles. Only users with necessary permissions should be able to modify or delete images.
- Access Control Lists (ACLs): Implement ACLs for secure file management. Control access to specific files or folders containing images based on specific user groups.
- Secure File Handling: Use appropriate file permissions on the server to limit access to specific files or directories containing images.
Best Practices for Secure Image Handling
Following best practices for secure image handling will significantly reduce the risk of vulnerabilities. These practices include validating inputs, encrypting storage, and regularly reviewing security configurations.
- Regular Security Audits: Regularly review your WordPress security configurations and image handling procedures to identify and fix potential vulnerabilities.
- Keeping WordPress Updated: Maintain the latest version of WordPress, plugins, and themes to benefit from security patches.
- Strong Passwords: Use strong and unique passwords for all user accounts, including those accessing the image management system.
- Two-Factor Authentication: Enable two-factor authentication for enhanced security.
Responsive Image Design
Images are crucial for any website, but their effectiveness depends heavily on how well they adapt to different screen sizes. Responsive image design ensures a consistent and optimal viewing experience across various devices, from desktops to smartphones. This involves understanding the nuances of different image formats and their impact on performance and user experience.Responsive image design is paramount for a positive user experience and search engine optimization ().
It adapts images to different screen sizes, preventing blurry or pixelated displays, and optimizing loading times. This approach not only improves user satisfaction but also enhances a website’s visibility in search engine results.
Responsive Image Formats
Different image formats offer varying levels of flexibility and performance. Choosing the right format is critical for responsive design. WebP, for example, often outperforms JPEG and PNG in terms of compression and quality, especially for complex images.
Responsive Image Techniques
Several techniques are available for achieving responsive image display. Using the `
Using CSS media queries allows developers to tailor the image display based on screen width. These queries enable the display of images at various resolutions and aspect ratios, optimized for a range of devices.
Impact of Image Size on Website Performance and User Experience
Large image files significantly impact website performance. Large images can lead to longer loading times, impacting the user experience and potentially leading to a higher bounce rate. A slow-loading website can deter users and harm search engine rankings. Optimizing image size through appropriate compression and format selection is crucial for enhancing loading times and improving user experience. Using a smaller image size will lead to a faster loading time and better user experience.
Responsive Image Formats and Use Cases
| Format | Description | Use Case |
|---|---|---|
| JPEG | A widely used format for photographs and images with a high degree of realism. | Best suited for images requiring high color fidelity, like photographs. |
| PNG | A format commonly used for graphics, logos, and images with transparency or sharp edges. | Suitable for icons, logos, or images with complex details, where transparency is important. |
| WebP | A modern format offering superior compression compared to JPEG and PNG, resulting in smaller file sizes without compromising quality. | Ideal for general use, offering high compression and good image quality. |
Benefits of Responsive Images for
Responsive images are beneficial for as they contribute to a better user experience. Search engines prioritize websites that offer seamless experiences across different devices. Faster loading times, improved visual quality, and consistent display contribute to a higher ranking in search results. Search engines reward websites that prioritize user experience.
Final Review
In conclusion, adding images to your WordPress site is a crucial step towards creating a visually appealing and user-friendly experience. By following the steps Artikeld in this guide, you can confidently upload, organize, and optimize your images for maximum impact. Understanding image optimization, security considerations, and responsive design will not only improve your site’s aesthetic appeal but also its performance and search engine ranking.
Remember to prioritize high-quality images, proper alt text, and efficient optimization for the best results.